First |
Previous Page |
Next Page |
Last | Model T Home
How is the Starter removed?
When removing the starter to replace transmission bands, or for any other reason,
first remove the engine pan on the left-hand side of the engine and with a screw-driver
remove the four small screws holding the Bendix cover to the transmission cover.
Upon removing cover and gasket, turn the Bendix drive shaft around so that the
set screw on the end of the shaft is at the top. Immediately under the set screw
is placed a lock washer, designed with lips or extensions opposite each other.
One of these is turned against the collar and the other is turned up against
the side of the screw head. Bend back the lip which has been forced against the
screw and remove the set-screw. As the lock washer will no doubt be broken or
weakened in removing the starter, a new one must be used when replacing it. Next,
pull the Bendix assembly out of the housing, being careful that the small key
is not misplaced nor lost. Remove the four screws which hold the starter housing
to the transmission cover, and pull out the starter, taking same down through
the chassis —this is why it was necessary to remove the engine pan. Extreme care
should be used in removing the Bendix drive and other parts that none are misplaced
nor lost and that they are replaced in their former position. In replacing the
starter, be sure that the terminal connection is placed at the top. If the car
is to be operated with the starter removed, be sure to put the transmission cover
plates in position. These plates may be obtained from the nearest dealer.
How is the Bendix Drive assembled to the Starting Motor? Answer No. 133
When assembling the Bendix Drive to the starting motor shaft, care must be used to see that the stop nut or bearing which enters the mounting bracket on the starting motor is not too tight; also that the bearing is in proper alignment with the bracket. The bearing should be oiled and then fitted so that it can be turned readily with the fingers. If the bearing is too tight, it should be dressed down with an oil stone. Too tight a fit will cause the bearing to freeze to the bracket, resulting in serious damage to the starter.
How is the Generator removed?
If it is found necessary to remove the generator, first take out the three
cap screws holding it to the front end cover and by placing the point of
a screw-driver between the generator and front end cover, the generator may
be forced off the engine assembly. Always start at the top of the generator
and force it backward and downward at the same time. Plates may be obtained
from the nearest dealer to place over the time gear if the car is to be operated
with the generator removed.
What should be done when replacing the Generator?
When installing the generator, the drive pinion must be properly meshed with
the large time gear. The generator bracket, that is, the section to which
the generator is bolted is separate from the cylinder block and the meshing
of the generator driving pinion with the large time gear can be regulated
by the use of one or more paper gaskets between the bracket and the cylinder
block. The bracket should rest tightly on the crankcase gasket and line up
with the face of the time gear case. If these gears are meshed too tightly,
a humming noise will result, also the generator shaft will be thrown out
of alignment.
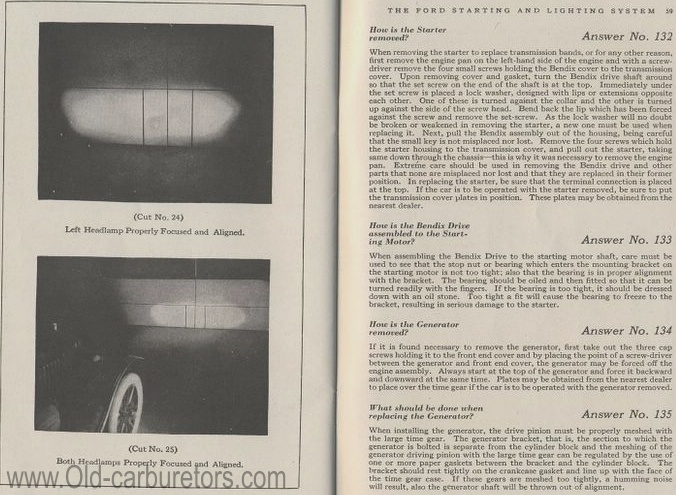
(Cut No. 24)
Left Headlamp Properly Focused and Aligned.
(Cut No. 25)
Both Headlamps Properly Focused and Aligned.
