Skip to: site menu | section menu | main content
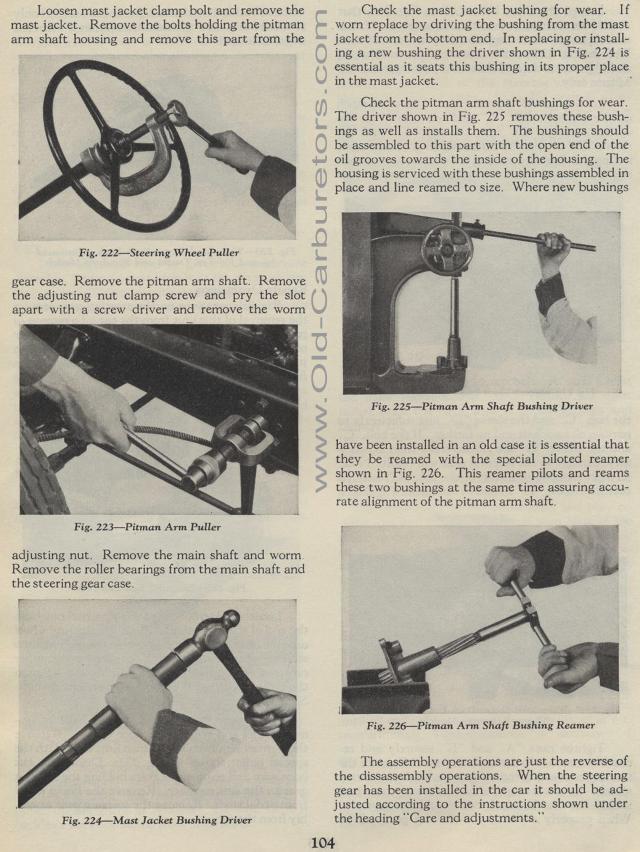
Loosen mast jacket clamp bolt and remove the Check the mast jacket bushing for wear. If mast jacket. Remove the bolts holding the pitman worn replace by driving the bushing from the mast arm shaft housing and remove this part from the jacket from the bottom end. In replacing or installing a new bushing the driver shown in Fig. 224 is essential as it seats this bushing in its proper place in the mast jacket.
Check the pitman arm shaft bushings for wear. The driver shown in Fig. 225 removes these bushings as well as installs them.
The bushings should be assembled to
this part with the open end of the oil grooves towards the inside of the housing.
The housing is serviced with these bushings assembled in place and line reamed
to size. Where new bushings
gear case. Remove the pitman arm shaft. Remove the adjusting nut clamp screw
and pry the slot apart with a screw driver and remove the worm
have been installed in an old case it is essential that they be reamed with
the special piloted reamer shown in Fig. 226. This reamer pilots and reams
these two bushings at the same time assuring accurate alignment of the pitman
arm shaft.
adjusting nut. Remove the main shaft and worm Remove the roller bearings from
the main shaft and the steering gear case.
Fig. 222— Steering Wheel Puller
Fig. 224— Mast Jacket Bushing Driver
Fig. 223— Pitman Arm Puller
Fig. 226— Pitman Arm Shaft Bushing Reamer
The assembly operations are just the reverse of the dissassembly operations.
When the steering gear has been installed in the car it should be adjusted
according to the instructions shown under the heading "Care and adjustments."
Fig. 225— Pitman Arm Shaft Bushing Driver
